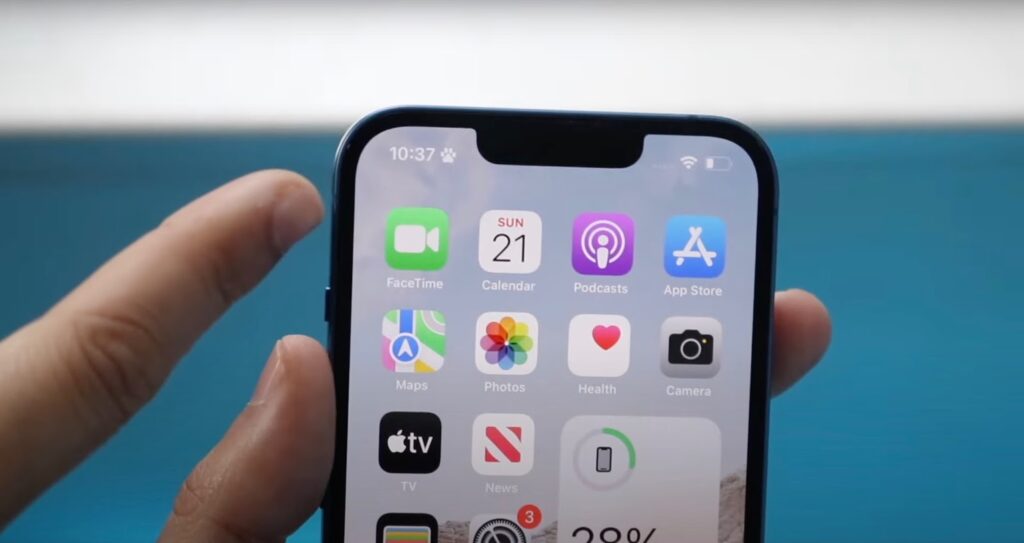
Changing the color of the status bar in an iOS app can significantly enhance its aesthetic appeal and improve user experience. This guide dives into the nuances of this process, ensuring even beginners can follow along with ease.
Understanding the Status Bar in iOS
The status bar is a pivotal element in iOS user interfaces. It provides critical information like time, battery life, and network status. Customizing its color can align it more closely with your app’s theme and design language, creating a seamless and more visually appealing user experience.
Setting the Scene: Pre-Requisites
Before altering the status bar’s color, ensure you have:
- The latest version of Xcode;
- A basic understanding of Swift;
- An active iOS app project.
Step-by-Step Tutorial to Change the Status Bar Color
Here’s how you can change the color of your status bar:
1. Accessing the Info.plist File: This file contains essential configurations. Add a new line: ‘View controller-based status bar appearance’ and set it to ‘NO’. This allows you to change the status bar style globally;
2. Modifying the AppDelegate.swift File: Use the function ‘application(_:didFinishLaunchingWithOptions:)’ to set the status bar style;

3. Adjusting the Status Bar for Individual ViewControllers: Sometimes, you might want to change the status bar color only in specific ViewControllers. Implement the following method in your ViewController;

4. Dealing with Navigation Controllers: If your ViewController is within a Navigation Controller, you’ll need to extend the UINavigationController to override the preferred status bar style;

5. Changing Status Bar Color in Different iOS Versions: iOS occasionally changes how status bar appearance is controlled. Stay updated with the latest iOS version documentation.
Integrating with UI Design
Changing the status bar color should complement your overall UI design. Ensure consistency in your color scheme to maintain an intuitive and harmonious user interface.
Common Pitfalls and How to Avoid Them
Beware of these common errors:
- Forgetting to update Info.plist for global changes;
- Ignoring safe area insets, especially on newer iPhone models with notches.
Advanced Customizations
For a more advanced approach, consider using view controller-based status bar appearance to dynamically change the status bar color based on different app states or user actions.

Debugging and Troubleshooting
If the changes aren’t reflected:
- Double-check Info.plist settings;
- Ensure you’re using the correct UIViewController methods.
Integrating Status Bar Color in iOS WebView Apps
For WebView-based iOS apps, it’s essential to ensure the design consistency between the native status bar and the web content. Here’s how:
- Match Designs: Align the web content’s header color with the status bar for a seamless look;
- Adapt to Themes: If your web content has themes or modes, adjust the status bar color accordingly;
- Bridge Web-Native Layers: Use tools like WKScriptMessageHandler to communicate between the web content and native components, allowing for dynamic status bar color changes based on WebView actions.
Achieving a unified look between WebView and native elements will enhance your app’s user experience.
Conclusion
Customizing the status bar color in iOS can significantly enhance your app’s aesthetics and user experience. With the steps outlined in this guide, you can easily modify the status bar to suit your app’s theme.
FAQs
Unfortunately, changes to the status bar in iOS require coding. You can’t alter it via the app’s settings or storyboard alone.
No, changing the status bar’s color is purely a cosmetic change and does not impact the app’s performance.
iOS currently doesn’t support gradients or images in the status bar background. You can only set a solid color.
While these methods are current, Apple can change how the status bar is configured in future iOS versions. It’s best to check the latest documentation.
Aligning the status bar color with your app’s theme creates a cohesive and immersive user experience, improving aesthetic appeal and usability.