The user interface (UI) is a critical aspect of any iOS application. A well-designed UI not only attracts users but also makes their interaction with your app smooth and enjoyable. One element of UI design that can greatly enhance user experience is the use of PopOver displays. In this comprehensive tutorial, we will explore how to effectively implement and use PopOver displays in your iOS app.
Understanding PopOver Displays
A PopOver display is a graphical user interface element that provides supplementary content or options related to a specific control or part of the app. It appears as a small overlay on the screen, usually in response to a user interaction, such as tapping a button or an icon. PopOver displays are commonly used for tasks like displaying additional information, providing settings options, or showing context-specific actions.
Benefits of Using PopOver Displays
Why should you consider integrating PopOver displays into your iOS app? Here are some key benefits:
- Space Efficiency: PopOver displays allow you to present additional information or options without cluttering the main screen. This conserves valuable screen real estate and ensures a cleaner and more organized user interface;
- Contextual Relevance: PopOver displays can be triggered based on user actions, ensuring that the content or options presented are contextually relevant. This helps users focus on what’s important at any given moment;
- Enhanced User Engagement: The interactive nature of PopOver displays encourages users to explore your app further. They can quickly access additional information or perform actions without leaving the current screen;
- Improved Aesthetics: Well-designed PopOver displays can enhance the overall aesthetics of your app. They provide an elegant way to present content and options, contributing to a polished and professional appearance.
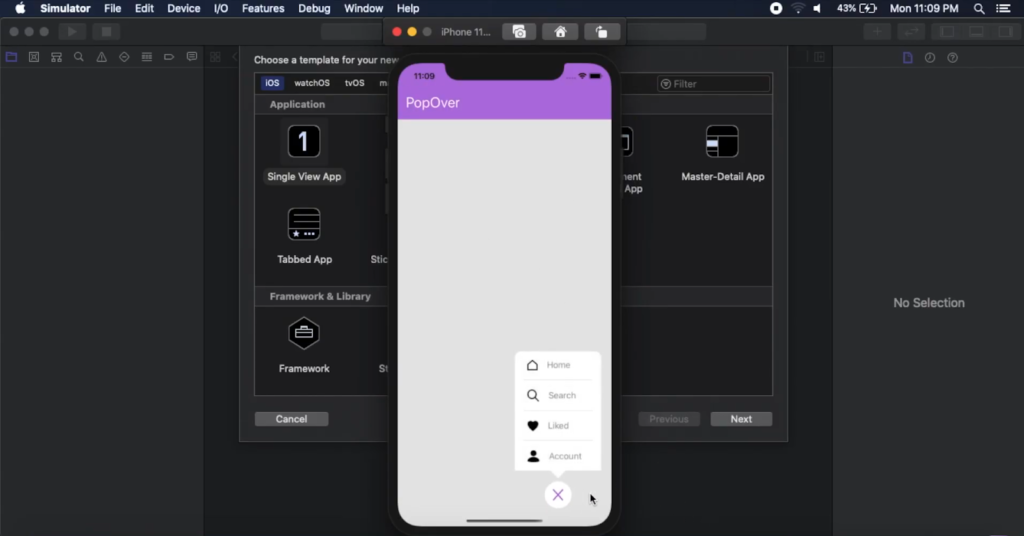
A popover is a temporary view that appears above other onscreen content when you tap a control or a specific area. Typically, a popover features an arrow indicating its origin point. In this tutorial, we’ll demonstrate the creation of a popover that contains a text view. This tutorial is designed for Xcode 10 and targets iOS 12.
Let’s get started:
- Launch Xcode and initiate a new project as a Single View App.
- Name your project “IOSPopoverTutorial” for the product name, and complete the Organization Name and Organization Identifier fields with your customary details. Choose Swift as the programming language and proceed by clicking “Next.”;
- In the Storyboard, select the View Controller. Navigate to the “Editor” menu and opt for “Embed In -> Navigation Controller.” Now, drag a Bar Button Item to the right side of the Navigation Bar. Select the Bar Button Item and access the “Attributes Inspector.” In the “Bar Button Item” section, change the “System Item” to “Action.”;
- Next, drag a new View Controller from the Object Library onto the Storyboard. Place a Text View from the Object Library at the top of this View Controller. This specific View Controller will be displayed within the popover;
- To proceed, add a new file to your project. Go to “File” -> “New” -> “File” and then select “iOS” -> “Source” -> “Cocoa Touch Class.” Name it “PopoverViewController” and ensure it’s set as a subclass of UIViewController;
- Return to the “Main.storyboard” and choose the recently added View Controller. In the “Identity Inspector,” navigate to the “Custom Class” section and modify the class to “PopoverViewController.”;
- Next, access the “Assistant Editor” and ensure that “ViewController.swift” is displayed. Hold the Ctrl key and drag from the Action Bar Button Item to the ViewController class, then establish the following Action:
Navigate to the “ViewController.swift” file and proceed to implement the “displayPopover(_:) action method.”
@IBAction func displayPopover(_ sender: UIBarButtonItem) {
    let storyboard : UIStoryboard = UIStoryboard(name: "Main", bundle: nil)
    let vc = storyboard.instantiateViewController(withIdentifier: "PopoverViewController")
    vc.modalPresentationStyle = .popover
    let popover: UIPopoverPresentationController = vc.popoverPresentationController!
    popover.barButtonItem = sender
    present(vc, animated: true, completion:nil)
}
The presentation behavior is handled by the UIPopoverPresentationController. In this context, the PopOverViewController is created from the Storyboard and presented. The “barButtonItem” property is configured to direct the arrow towards the Action Bar Button Item.
To see the result, compile and run the project, then click the Action button. The popover will appear and can be closed by clicking anywhere outside of it.
For access to the source code of the IOSPopoverTutorial, you can download it from the iOS Creator repository on Github.
Conclusion
In summary, understanding PopOver displays and their benefits in iOS app development can significantly improve the user interface. PopOver displays offer space efficiency, contextual relevance, enhanced user engagement, and improved aesthetics. By incorporating these elements into your app, you can create a more visually pleasing and user-friendly experience. If you’re interested in enhancing your iOS app’s user experience, you may also like to check out our comprehensive guide on iOS Pull to Refresh.